Walkthrough making your own blockchain
Follow these steps to successfully start your own blockchain.
1. Use the software generator
Begin by visiting our wizard and generator that is located on our main website:
https://www.blockcore.net/create-chain
When all of that is completed, you have the software needed to start your blockchain.
2. Get your initial pre-mine address
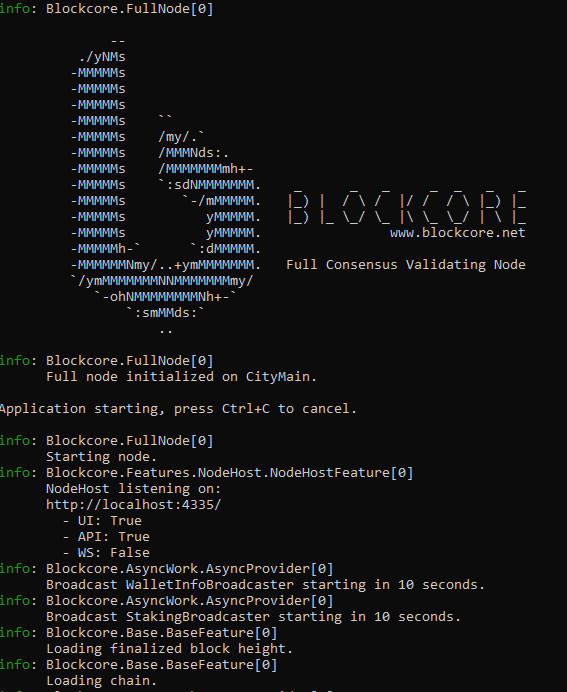
First step you need to perform is getting the receive address you can use to perform the initial mining on your blockchain.
Either you can launch the Node UI on the TCP port you specificed, or you can use the REST API.
The URL for your Node UI is shown in the startup of the node, like shown in this screenshot:
First step is to make yourself a new wallet. You can do this without having any connections to other nodes.
After creating a wallet, make sure you protect your recovery phrase. If this is lost or shared, you can loose access to the funds.
Go to "Wallets" then "Details" on your wallet. Then click the "Receive" button on top right. An valid address for your wallet will now be displayed. Copy this address for the next step.
3. Mining and Staking
When you first start a new blockchain, you need to perform Proof-of-Work mining. This can easily be done using a basic CPU on your computer, no need for expensive hardware.
Find your "network.conf" file and enable the following settings.
Configuration file is normally located under a path like this on Windows: C:\Users\USER\AppData\Roaming\Blockcore\YOURNETWORK\YourNetworkMain
1 2 3 4 5 6 7 8 9 10 11 | |
4. Connect to other nodes
You cannot send transactions unless you have one or more connections.
Additionally all new coins must be matured before you can send them. Initially it is required that new coins must be 50 blocks deep, and later on the requirement is 500. This can be configured in code.
You can launch two nodes locally, by changing the default ports on one of the instances.
Use the following settings, with some modifications, to launch two instances of your node software:
launch-first.bat
1 | |
launch-second.bat:
1 | |
Explaination of parameters:
-server=1: This will make one node listen for incoming connections on the default p2p port.
-addnode: This will connect to the other node on startup.
-iprangefiltering=0: This will allow connection between local LAN nodes.
5. Next steps
For the next steps, you can begin to integrate the Indexer, Explorer, Extension or other software in the Blockcore Platform.
If you add your custom network to the chains repository, then the Blockcore Platform will automatically support your network more easily without forking.
https://github.com/block-core/chaininfo